Quick Start Guide
Welcome to Betterchamp! This guide will walk you through everything you need to know to get up and running quickly. From setting up your account to conducting your first AI-powered 1:1 conversation.
On this page
Account Creation & Login
- Navigate to Betterchamp login page
- Sign in with Google, Microsoft, or your email address. Using Google or Microsoft provides a faster setup process. If you choose to sign in with an email address, you will need to verify your email address.
- If you are a member of a team, you can follow the same steps to sign in to your team's account. However, if you choose to signin with email address directly, you need to use forgot password to reset your password and then sign in.
Account Types & Free Trial
Betterchamp offers two account types to fit different needs:
Free Account
Includes:
- 1 team with up to 5 members
- 3-month history of conversations and notes
- Notes and action items for each conversation
- Basic in-app recaps (no AI generation or email delivery)
- Private to your team - no data shared with third parties
Pro Account (Free Trial)
When you sign up for a new account, you automatically get a 1-month free trial of the Pro plan. This gives you access to all Pro features including:
- Unlimited members and conversation history
- AI recaps from notes and transcripts
- Conversation playbooks with contextual conversation guides
- Automatic email recaps when sharing
- Email support for faster help
At the end of your trial, you can choose to:
- Upgrade to Pro - Continue with all Pro features for $15/month
- Downgrade to Free - Keep using Betterchamp with Free plan limitations
You can manage your subscription anytime in Settings → Subscription.
Complete Your 2-Step Onboarding
Follow the guided setup process to personalize your Betterchamp experience:
- Step 1: Basic Info - Enter your name, company, and role.
- Step 2: Team Details - Set up your team and add team members. When you add team members with email addresses, they'll receive a notification to join Betterchamp.
Click "Continue" through each step to complete your initial setup.
Create Your First Conversation
Use conversations to keep track of your 1:1s, team meetings, stakeholder meetings, or informal discussions that often get forgotten. The conversation feature in Betterchamp is easy to work with, as you do not need to integrate your calendar or other software to use it.
Steps to Create a Conversation
- Navigate to conversation page
- Select a team member you want to have a conversation with
- Choose your preferred date
- Set a relevant title if the auto-generated one is not sufficient
- During your meeting, keep track of important points in your private notes
Organize Your Notes and Action Items
- Add Private Notes. Use the private notes section to keep track of your meeting preparations, decisions, and other important information during the conversation. This section is only accessible by you.
- Add Action Items. Action items are follow-up tasks that need to be completed after the conversation. You can mark them as public so they are visible to other participants as well.
Create a Quick Recap
Quick Recap button helps you create a quick summary and share it with other meeting participants.
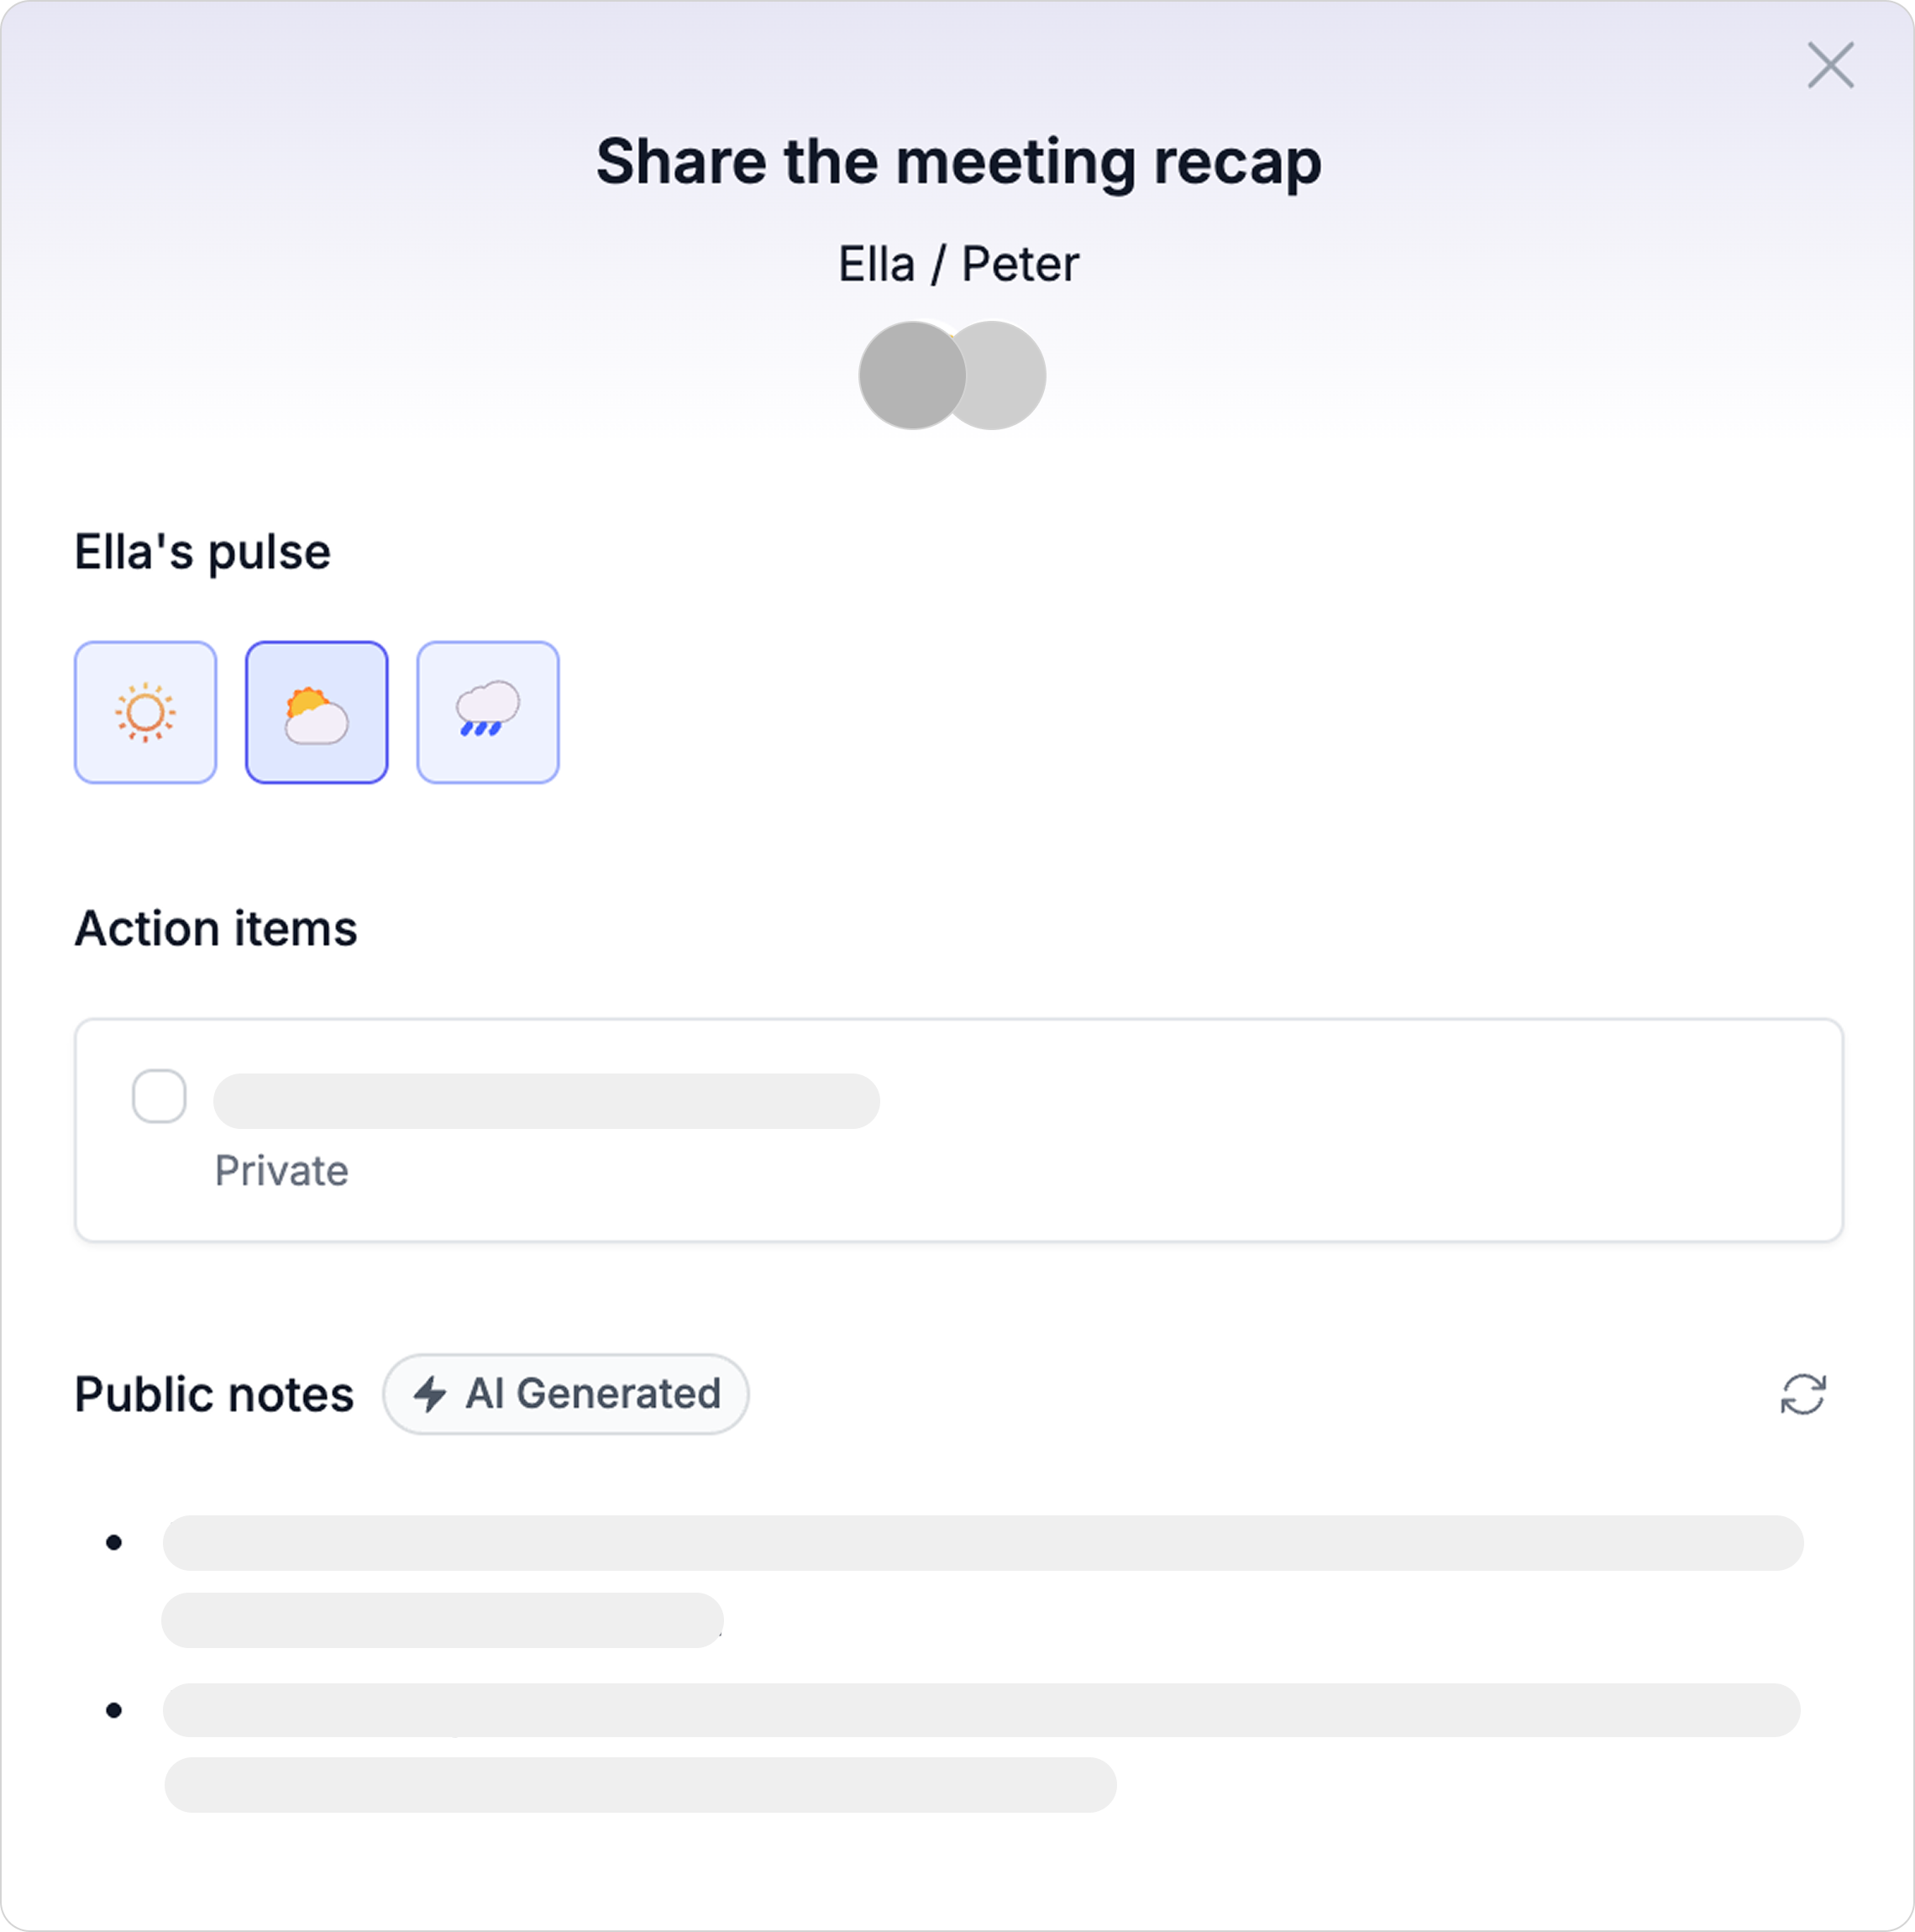
- Public Recaps. Public recaps are a simple way for you to share the action items, follow-ups, and decision points of the conversation with everyone involved. They are accessible by everyone who joined your conversation. You can either write them manually, or if you have sufficient private notes, Betterchamp AI will help you draft one.
That's it! You've now run your first conversation.
Understanding Your Dashboard
Your Betterchamp dashboard provides a comprehensive overview of your conversations and action items at a glance. It's organized into four main sections to help you stay on top of your team coordination.

Dashboard Sections
Action Items (Top Left)
This section shows all tasks and action items from your conversations. Each item includes:
- Task description - What needs to be done
- Source conversation - Which meeting it came from
- Creation date - When it was created
- Privacy status - Whether it's private or shared
Click "View all action items →" to see your complete task list.
Needs Recap (Bottom Left)
Conversations that require you to write a recap. This helps ensure important discussions are properly documented:
- Conversation title - What the meeting was about
- Time until due - How long you have to write the recap
- Participants - Who was involved (shown as avatars)
- Status tag - "Needs Recap" indicator
Upcoming (Top Right)
Your scheduled conversations for this week. Each item shows:
- Meeting title - What the conversation is about
- Timing - When it's scheduled (Tomorrow, in X days)
- Prep status - "Needs Prep" if you haven't prepared yet
- Participants - Who will be attending
Click "View all conversations →" to see your full conversation schedule.
Completed (Bottom Right)
Recently finished conversations for easy reference:
- Conversation title - What was discussed
- Completion date - How long ago it happened
- Participants - Who was involved
Quick Actions
Use the "Start a conversation" button in the top right to quickly create new conversations without navigating to the conversations page.
Adding Team Members
To add team members to your team, you'll need to navigate to the Team Settings page. This allows you to invite colleagues and manage your team roster.
Accessing Team Settings
Navigate to the Team Settings page by:
- Click on the sidebar menu
- Select "Team" from the navigation options
- You'll be taken to the Team Settings page
Team Settings Overview
The Team Settings page has two main tabs:
- Basic Info - Team information and settings
- Members - View and manage team members (this is where you'll add new members)
Configuring Basic Team Information
The Basic Info tab allows you to set up your team's core information. This information is crucial for personalizing your Betterchamp experience and ensuring you get the most relevant features.
Team Name
Set the name that identifies your team within your organization. This helps distinguish your team from others and provides context for conversations and reports.
Team Function
Select your team's primary function or department (e.g., Sales, Engineering, Marketing, HR). This setting is used to:
- Calibrate conversation context - AI features understand your team's specific needs
- Show relevant features - Display tools and templates most useful for your function
- Customize playbooks - Provide conversation templates tailored to your department
Industry
Choose the industry your organization operates in (e.g., Technology, Healthcare, Finance). This setting helps Betterchamp:
- Contextualize conversations - Understand industry-specific terminology and challenges
- Suggest relevant playbooks - Show conversation templates specific to your industry
- Provide targeted insights - Offer advice and strategies relevant to your sector
Saving Your Settings
After configuring your team information:
- Review all the information to ensure accuracy
- Click "Save changes" to apply your settings
- Betterchamp will immediately start using this information to personalize your experience
Adding a New Team Member
To add a new team member:
- Make sure you're on the "Members" tab (it will show a count of current members)
- Scroll down to the bottom of the member list
- Click the "Add more" button
- This will open the "Add member" modal
Filling Out Member Information
In the "Add member" modal, you'll need to provide:
- Profile Avatar - Choose from available avatar options or initials
- First Name - Team member's first name
- Last Name - Team member's last name
- Email - Their email address (this is how they'll receive invitations)
- Job Title - Their role or position
Avatar Selection
You can choose from:
- Initials - Grey circle with initials (e.g., "MT")
- Profile Photos - Professional headshots
- Animal Avatars - Fun cartoon animals (dog, elephant, bear, etc.)
Completing the Process
Once you've filled out all the information:
- Review the details to make sure everything is correct
- Click "Save" to add the member
- The new member will receive an invitation email to join your team
- They'll appear in your team list once they accept the invitation
Managing Existing Members
For existing team members, you can:
- Edit Details - Click the "Edit" button next to any member to update their information
- View Information - See their role, tenure, and email address
- Track Tenure - See how long each member has been with the team